Monday, March 9, 2015

Minnie Mouse Disney Ears

I will be teaching you how to make these beautiful Minnie Mouse Ears, and save a bunch of money doing it! I made these for my sister for her birthday, because while we were at Disney World, all she wanted was a pair of ears.

The materials you will need are two styrofoam circles (I got mine in a package of two for a dollar at the Dollar Tree), a plastic headband also from the Dollar Tree (it doesn't matter the color because we will be wrapping it in ribbon), red ribbon (from the Dollar Tree but they sell it everywhere), black cotton fabric (about a yard from Joann's Fabric and Crafts), a hot glue gun, fabric scissors, black thread, and a sewing needle.

To start fold your fabric in half and gently place your styrofoam circles on top. Then, circle them with a white crayon or colored pencil, but leave some edge around it. After that, cut them out. Because we folded it before, we should have four circles, the same size. Put two directly on top of each other, and the other two also. Then thread your thread through the needle and tie the ends. Put the styrofoam centered in between two fabric pieces, and begin to sew the edges around them. A basic 'in out' stitch will be fine. Sew all the way around closing up any holes. Repeat on the other ear.

Then, hot glue the ears to the headband. Try to put the glue on the actual styrofoam and a flat part of the fabric on the ear. It's more of a 'do whatever to make the ears stand up' situation. Glue it to the headband. Nows the easy part. Tie two little bows and one regular bow out of the red ribbon. Hot glue the big one to the middle of the headband in between the ears. Glue the other two on top of each ear for more decoration. Then, put a dab of glue on the tip of the headband and wrap the red ribbon all around it on both sides of the headband, so that the entire thing is red. Mine hid my yellow headband wonderfully. There you go! Have fun making these cute and inexpensive Disney ears. Everyone will be wondering how you got them!


Sunday, February 15, 2015

LOVE Canvas

Today, I will teach you how to make a beautiful LOVE Canvas for Valentines Day, or just for fun. I made mine for my sister.

To start, you will need a canvas or heavyweight paper. The canvas I used was 7"x5". You will also need pink, red and blue shimmer shine acrylic paints, painting tape, and a "fan" style of paint brush.

First, you need to make your colors. If you have all of those colors, then skip this step. I didn't have purple. Squirt some pink paint onto a paper plate, some red paint, and a separate pile of red paint. Then, squirt blue paint into one of the red piles and mix with a toothpick to make purple. Once you have pink, purple and red, all your paints are ready.

Then, you will need to make the love sign on the canvas. Take your painting tape and scissors and cut your letters. For example, use the scissors to cut straight lines, and cut one piece of tape, then cut it in half long ways, put one's corner on top of the other's corner and there you have an L. Just do it whatever way you want until it looks how you like it. Also, I made my O into a heart, so be creative and do whatever you want.

Once you have all of your letters cut out and stuck on the canvas, you may start painting. Dip your fan brush into one of the colors, then paint over the corner of the canvas so that the color is more natural coming onto the words. Keep changing colors often. Also, be sure to go over the letters with paint, so when you take the tape off, it will have a cooler effect on it. Once I like the amount of decoration on the canvas, stop and let it dry for like a half hour while you can clean up.

Then take the tape off, and you have a beautiful LOVE canvas. If you make a love canvas, tag it with the #creativitylovecanvas
Happy crafting!

Friday, January 16, 2015

Snowglobe

Today, I will show you how to make a snowglobe. No water is needed, because I'm sending it to my sister through the mail.

The materials you will need are a jar with lid, a little christmas tree or toy (mine are from the Dollar Tree), glitter, hot glue, and optional pipe cleaners.

To start, take off the lid and hot glue your toys to the the lid. Then put the actual jar on its side and sprinkle a good amount of glitter (I used three different colors and just put a little of all) 
and then turn the jar on its other sides while adding more glitter to each side to shake it all around.
It's very easy and perfect for gifts. Hope you have fun!                

Friday, November 21, 2014

No Gravity Hairstyle

Today I will be showing you how to do my No Gravity Hairstyle. It is so easy! I love it.

First you'll need wire. Since my hair is brown, I got brown wire. I think it's actually some sort of floral decorating tool, but wire should work fine. Also, for a better hold, use two strands of wire and just act as if they're one. Or you could use three strands and put one in each section.

To begin, take one piece of wire or the floral thing and cut it longer than your hair, but not too long. (Like 5 inches longer). Then, fold the end over and twist it, so that it won't poke you. 
Now to the braiding. Divide your hair into 3 sections, but put your wire in the middle strand with the top of the wire by your ear. Then do a regular braid all the way down and secure it with an elastic. 
Then fold the excess of the wire in half and stick the top in the elastic so it stays, after that, twist the hair through the hole we made with the fold.

Then all you do is take the braid and bend it up! There are so many things you could do with this. I think it looks like the Wendy's restaurant logo. Here are some things you could do with it. Of course, you'd need to use bobby pins or something where I was holding.


Monday, November 10, 2014

Bow Bookmarks

Sorry I haven't posted for a while. 
Today, I'll teach you how to make Bow Bookmarks. They're super cute, good for school, and so easy and quick!
First, you'll need ribbon or rickrack (about a hand length), a paper clip, and a pipe cleaner, wire, twist tie, or something of that nature.

To begin, take your ribbon and  form it into sort of an upsidedown triangle shape.
Then, scrunch down the center to make a bow shape. After that, use the pipe cleaner, etc. to secure the shape by folding it around a few times, leaving tails pointing down. Slide the paper clip up in between the tails of the pipe cleaner, then twist the tails with each other, then as one, wrap around the middle of the bow to make sure the paper clip won't fall off. 

Since I like how my bookmark looks with the pipe cleaner, I left it alone, finished. If you don't like the look of the wire you used, cut another piece of ribbon about 5 cm long, wrap it over the center, and use a dab of hot glue on the back.

And you're done! Have fun reading!


Saturday, October 18, 2014

Fun-Kin

Today, you will learn how to make a Funkin. It is just like a pumpkin, but it is fake so it will last longer. I made one with my sister, when she came to visit.

To start, you'll need a funkin (I got it at Joann's Fabrics but I'm sure you can order one online), paper, a knife, and a small electric light, because you can't put a candle in a funkin.

I first drew out an outline on a piece of paper, of what I was going to carve. It ended up like this.
We also figured out that curved edges were harder to carve than straight edges, but both work. One just takes a little longer.


Once we drew our design on a paper, we drew it again on our Funkin to size. After that, Alayna, my older sister, began carving the funkin the same exact way you would carve a regular pumpkin. 
NOTE: do with adult assistance when working with the knife.

To finish it up, I just put a small camping light in the funkin and there you go! Also, since Halloween is coming up, if you recreate my funkin, tag it with a #CreativitySpooktorials so I can see!
If there are any other Halloween crafts, or costumes, etc. that you would like me to do, comment!

Saturday, October 4, 2014

Marquee Letter

Today, I will be showing you how to make a Marquee Letter. It is super cute, easy and I think it looks like something from Sharpay's dressing room in High School Musical.
I created it from this tutorial from the YouTuber,  Jenny from ShowMeCute.
Here's the link to her video.

I did it a little different by painting it with metallic acrylic paint. I also cut the holes without a drill as she mentions in the video.
Here are some pictures of my sister and I with it, that she took with a Polaroid camera.

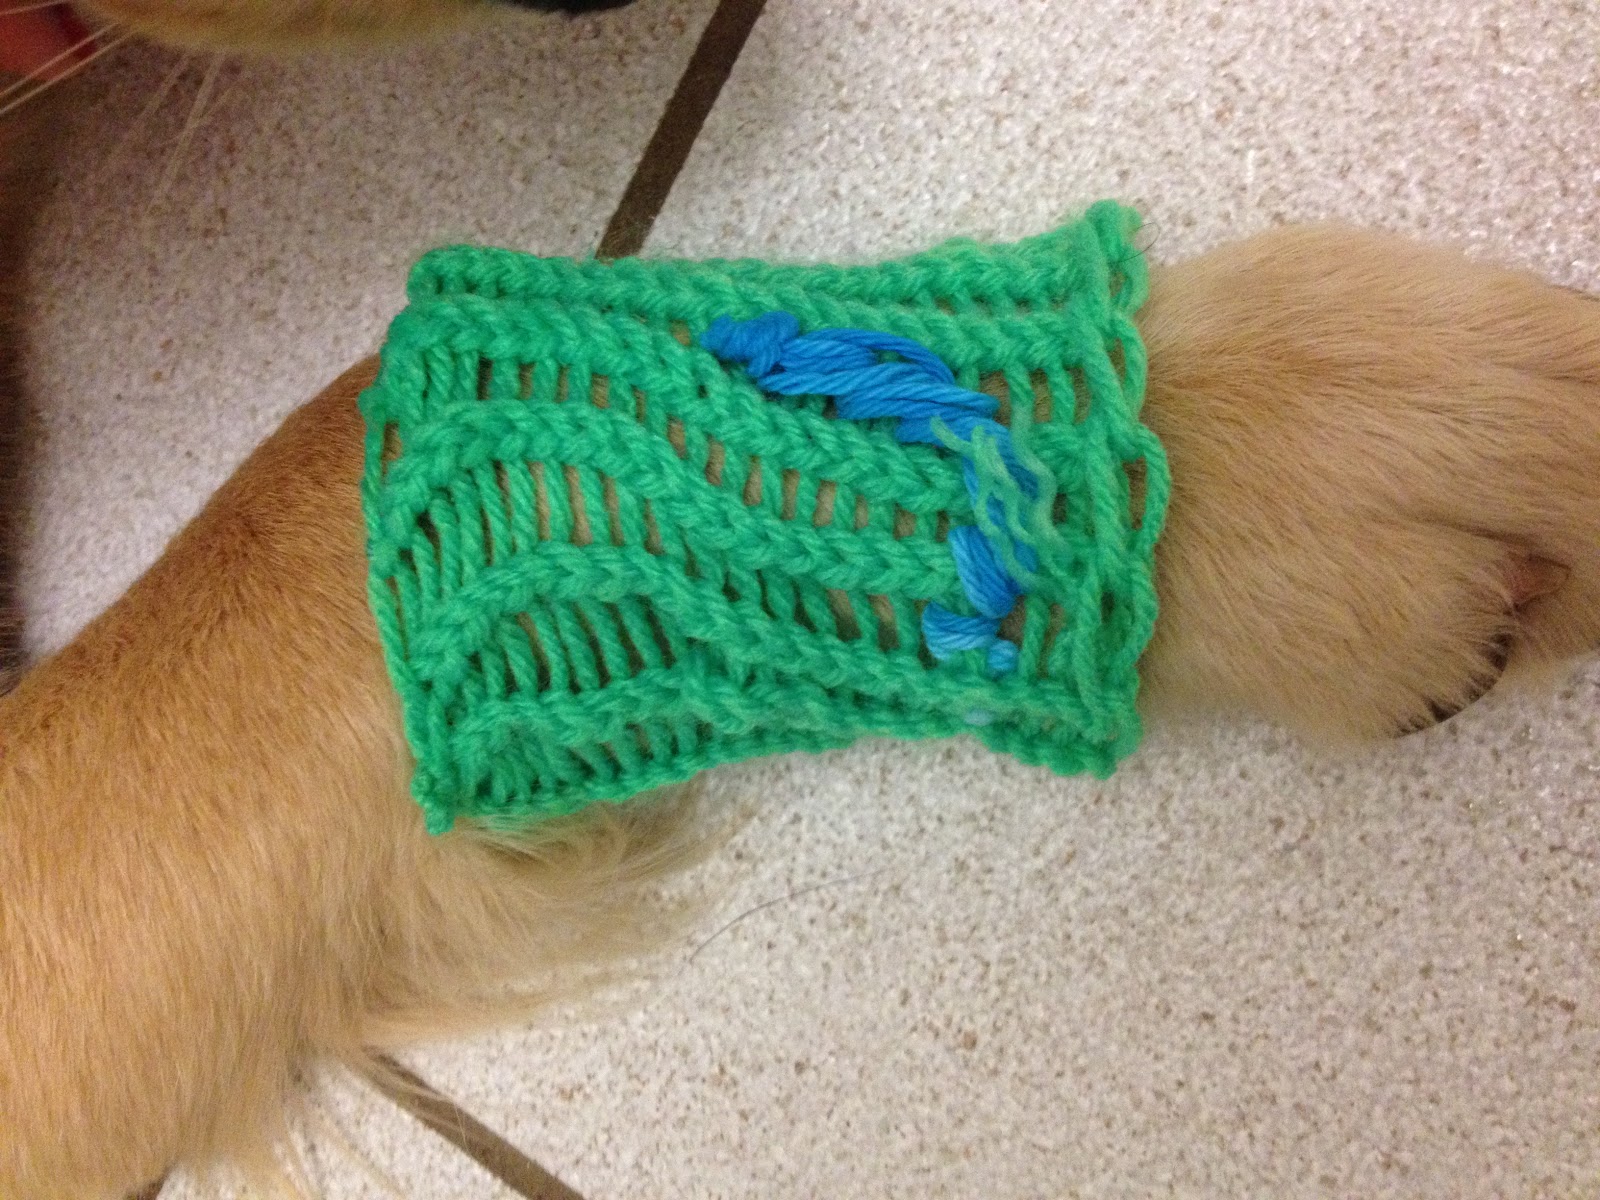
And this is Jake in his leg Warmers from my last post.
(keep in mind that the dog you make them for will probably destroy them in the first ten minutes of having them, but it makes them happy!)