Friday, November 21, 2014

No Gravity Hairstyle

Today I will be showing you how to do my No Gravity Hairstyle. It is so easy! I love it.

First you'll need wire. Since my hair is brown, I got brown wire. I think it's actually some sort of floral decorating tool, but wire should work fine. Also, for a better hold, use two strands of wire and just act as if they're one. Or you could use three strands and put one in each section.

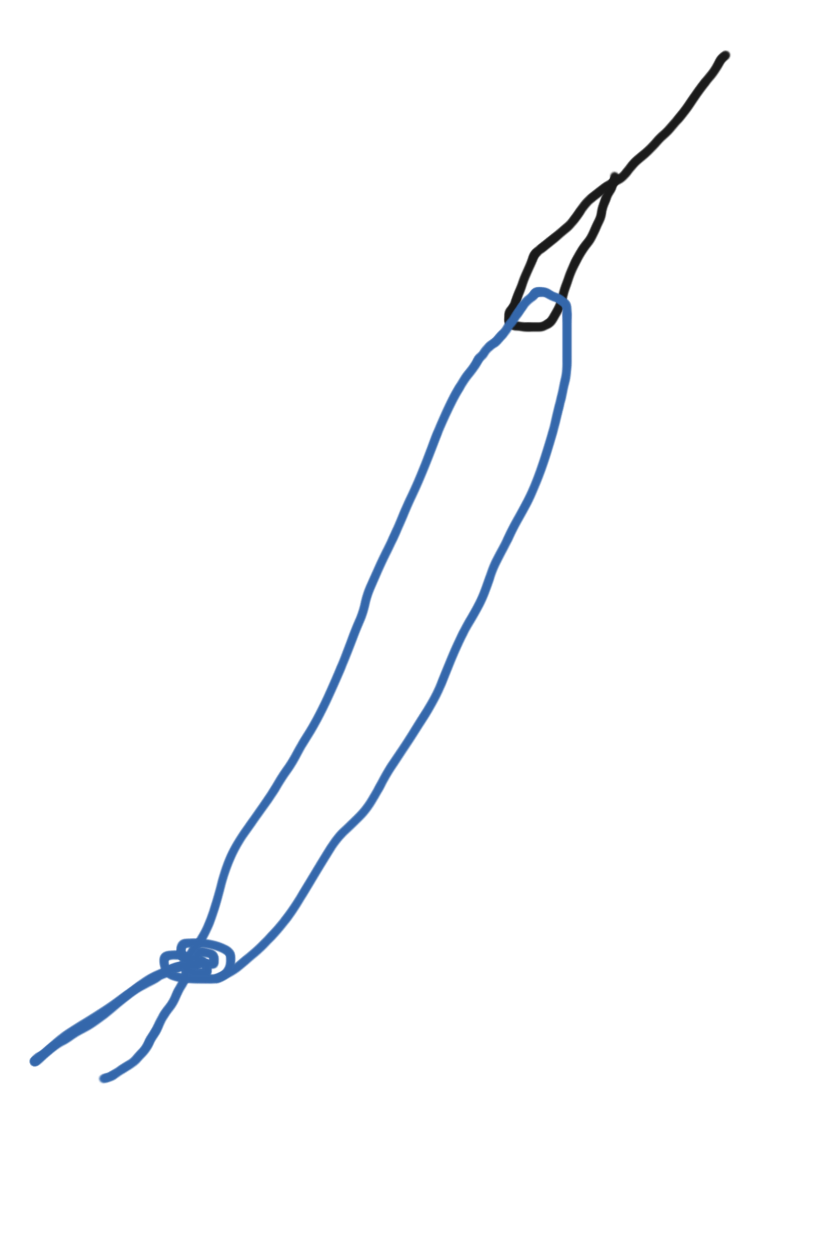
To begin, take one piece of wire or the floral thing and cut it longer than your hair, but not too long. (Like 5 inches longer). Then, fold the end over and twist it, so that it won't poke you. 
Now to the braiding. Divide your hair into 3 sections, but put your wire in the middle strand with the top of the wire by your ear. Then do a regular braid all the way down and secure it with an elastic. 
Then fold the excess of the wire in half and stick the top in the elastic so it stays, after that, twist the hair through the hole we made with the fold.

Then all you do is take the braid and bend it up! There are so many things you could do with this. I think it looks like the Wendy's restaurant logo. Here are some things you could do with it. Of course, you'd need to use bobby pins or something where I was holding.


Monday, November 10, 2014

Bow Bookmarks

Sorry I haven't posted for a while. 
Today, I'll teach you how to make Bow Bookmarks. They're super cute, good for school, and so easy and quick!
First, you'll need ribbon or rickrack (about a hand length), a paper clip, and a pipe cleaner, wire, twist tie, or something of that nature.

To begin, take your ribbon and  form it into sort of an upsidedown triangle shape.
Then, scrunch down the center to make a bow shape. After that, use the pipe cleaner, etc. to secure the shape by folding it around a few times, leaving tails pointing down. Slide the paper clip up in between the tails of the pipe cleaner, then twist the tails with each other, then as one, wrap around the middle of the bow to make sure the paper clip won't fall off. 

Since I like how my bookmark looks with the pipe cleaner, I left it alone, finished. If you don't like the look of the wire you used, cut another piece of ribbon about 5 cm long, wrap it over the center, and use a dab of hot glue on the back.

And you're done! Have fun reading!


Saturday, October 18, 2014

Fun-Kin

Today, you will learn how to make a Funkin. It is just like a pumpkin, but it is fake so it will last longer. I made one with my sister, when she came to visit.

To start, you'll need a funkin (I got it at Joann's Fabrics but I'm sure you can order one online), paper, a knife, and a small electric light, because you can't put a candle in a funkin.

I first drew out an outline on a piece of paper, of what I was going to carve. It ended up like this.
We also figured out that curved edges were harder to carve than straight edges, but both work. One just takes a little longer.


Once we drew our design on a paper, we drew it again on our Funkin to size. After that, Alayna, my older sister, began carving the funkin the same exact way you would carve a regular pumpkin. 
NOTE: do with adult assistance when working with the knife.

To finish it up, I just put a small camping light in the funkin and there you go! Also, since Halloween is coming up, if you recreate my funkin, tag it with a #CreativitySpooktorials so I can see!
If there are any other Halloween crafts, or costumes, etc. that you would like me to do, comment!

Saturday, October 4, 2014

Marquee Letter

Today, I will be showing you how to make a Marquee Letter. It is super cute, easy and I think it looks like something from Sharpay's dressing room in High School Musical.
I created it from this tutorial from the YouTuber,  Jenny from ShowMeCute.
Here's the link to her video.

I did it a little different by painting it with metallic acrylic paint. I also cut the holes without a drill as she mentions in the video.
Here are some pictures of my sister and I with it, that she took with a Polaroid camera.

And this is Jake in his leg Warmers from my last post.
(keep in mind that the dog you make them for will probably destroy them in the first ten minutes of having them, but it makes them happy!)


Monday, September 22, 2014

Dog Leg Warmers

My sister has a golden retriever puppy named Jake, and he will be one year old this month.


For his birthday, I made him some Dog Leg Warmers. I thought I'd show you how to do that. 


To start, you'll need two balls of yarn (one for the leg warmers and one for the letters), a  small 10.5 inch crochet loom, loom hook, and yarn needle. I bought all of this at Joann's Fabrics.

The box of the loom comes with directions, but I finished it a little different so here's a brief summary.

You start it the same way, then once you've gone around 21 times, you will cut the end long, thread it through the needle, and take the needle through each loop and tie it to secure the end. I tied it so that it is tight when I stick my fingers two inches apart inside it.

If any of this is confusing just look at the instructions and make it your own. Make 4 of those, and you can leave it like that if you want. Since JAKE is four letters and he has four legs, I made a letter for each leg. You can just make his initial on one also.

For the lettering, if you already know a way, go ahead and do that. If you don't, depending on what letter you have, you'll have to use my technique in a different way. First cut off a really long piece of yarn, thread it in half through the needle and knot the end together.

To make the letter L
First, put the needle inside the legwarmer and pull up, through the top of it. Then put it back in, eight stitches above that, and go around that loop twice to secure. Once you get back to where you started, go four stitches to the right, and go around that loop. Once you've finished, tie a knot inside the legwarmer.

If any of this is confusing, just search on Youtube.  I have found a few videos that I enjoy learning from. Have fun making this with your puppy.

Happy birthday Jake!!! 💙💙💙


Tuesday, August 19, 2014

Pencil Pigtails

This week I'm starting middle school, so I decided to share some back to school fun. I go to a school with uniforms, so hair is a fun way I show my individuality. Let's start with our Pencil Pigtails!

My hair is really long, so it's fun to see myself with short hair for a little bit! I did this bored in my mom's classroom, so it doesn't really involve elastics, etc.

To begin divide your hair into two even sections. Grab a section, pull it up to your ear and twist it away from your head, then twist up and towards the back of your head. Take it around once like a bun, and shove a pencil through the side of the bun part, weaving back and forth while staying inside the bun. Once you get out of the bun, weave the pencil over the tail part of the hair, under and out of where you pulled the hair up from. It's not as difficult as it sounds.

Do the same thing on the other side. I think a paper clip is stylish and works great as a bobby pin accent. There you go!


Good luck with this hairstyle and in the first weeks of school!

Sunday, August 10, 2014

Beaded Necklace

Yesterday, I made cute beaded necklaces with my older sister.

To begin, you will need one set of 'Fiesta Teeth Stone Beads' (makes one necklace) and one packet of necklace knit cord with three sets of silver findings. The brand I used for that was 'Darice Jewelry Designer'. These products were from Joann's Fabrics.


From there, you will cut the string that the beads came on and begin stringing them onto the black cord. I did the same order of the beads as packaged. Once all of them are on, you will make a double knot on each side of the beads so that they stay in place. Try to make it as close together as possible.

Then, decide where you want your necklace to end, and make one knot on each side to mark it. Here was the tricky part for us. There are instructions on the back of the cord package, but we decided to do it our own way. We made a knot on each side of the lobster clasp to secure that. Then for the other side, we threaded the string through the coil and looped it around a and knotted it at the beginning of the coil clasp. It's hard to explain, so here's a closer photo.

There you go!


Saturday, August 9, 2014

DIY Movie Projector

Today, I made this super easy homemade projector! It's perfect for fun nights or even for new teachers going back to school!


To start, you will need a shoebox (it works better if it's black), a magnifying glass (I hunted all over for one and finally found one at my local grocery store), scissors or an X-acto knife, tape, and an iPhone or iPod Touch.

First, you'll need to trace your circular part of the magnifying glass on the side of the shoebox. It should be centered. Then, grab your scissors or an X-acto knife and cut out the circle. Now just tape the magnifying glass to the inside of the box, lining up with the cut out. I used clear packing tape.


If the magnifying glass is too big, just cut a small section out of the lid.

Then you will need to turn on your accessibility on your device. Just go into Settings, General, Accessibility,  then turn on your Assistive Touch. Once all that is done, click on the Assistive Touch circle, click on device, rotate screen, and turn it upside down. From then, you can project videos on your phone, movies on Netflix, or anything you want.


By the way, it's shows clearer then it appears in the picture. 
;)

Sunday, August 3, 2014

Princess Bun Hairstyle

Today, you'll learn a super quick & easy bun! I call it the Princess Bun because when I did it for church this morning, my brother said, 
"what are you doing?" -a bun. "Are you wearing it to church?" -yes. "It's huge."
There's nothing more to say! 

So first, you put your hair in a high ponytail. Make it tight, but a good enough distance away from your head.

Then, poke your index and middle finger through the back of the ponytail so that your fingers are pointing forward, towards your face. 

To continue, grab the ends of your hair and pull only about a fingers length back (my hair is long, so I pulled maybe 5 inches) through the hole you've created with your fingers.

I left the tail alone for a little bit while I secured the sides of the bun down with bobby pins. I then, took the tail and lightly wrapped it around the front of the bun and bobby pinned the tail in the same spot I did the bun. It's as easy as that!

I was thinking about doing hairspray, but when I got home it looked fine, so I decided it wasn't necessary. I'm not a fan of mirror pics, but I thought that it captured the height of the bun better.